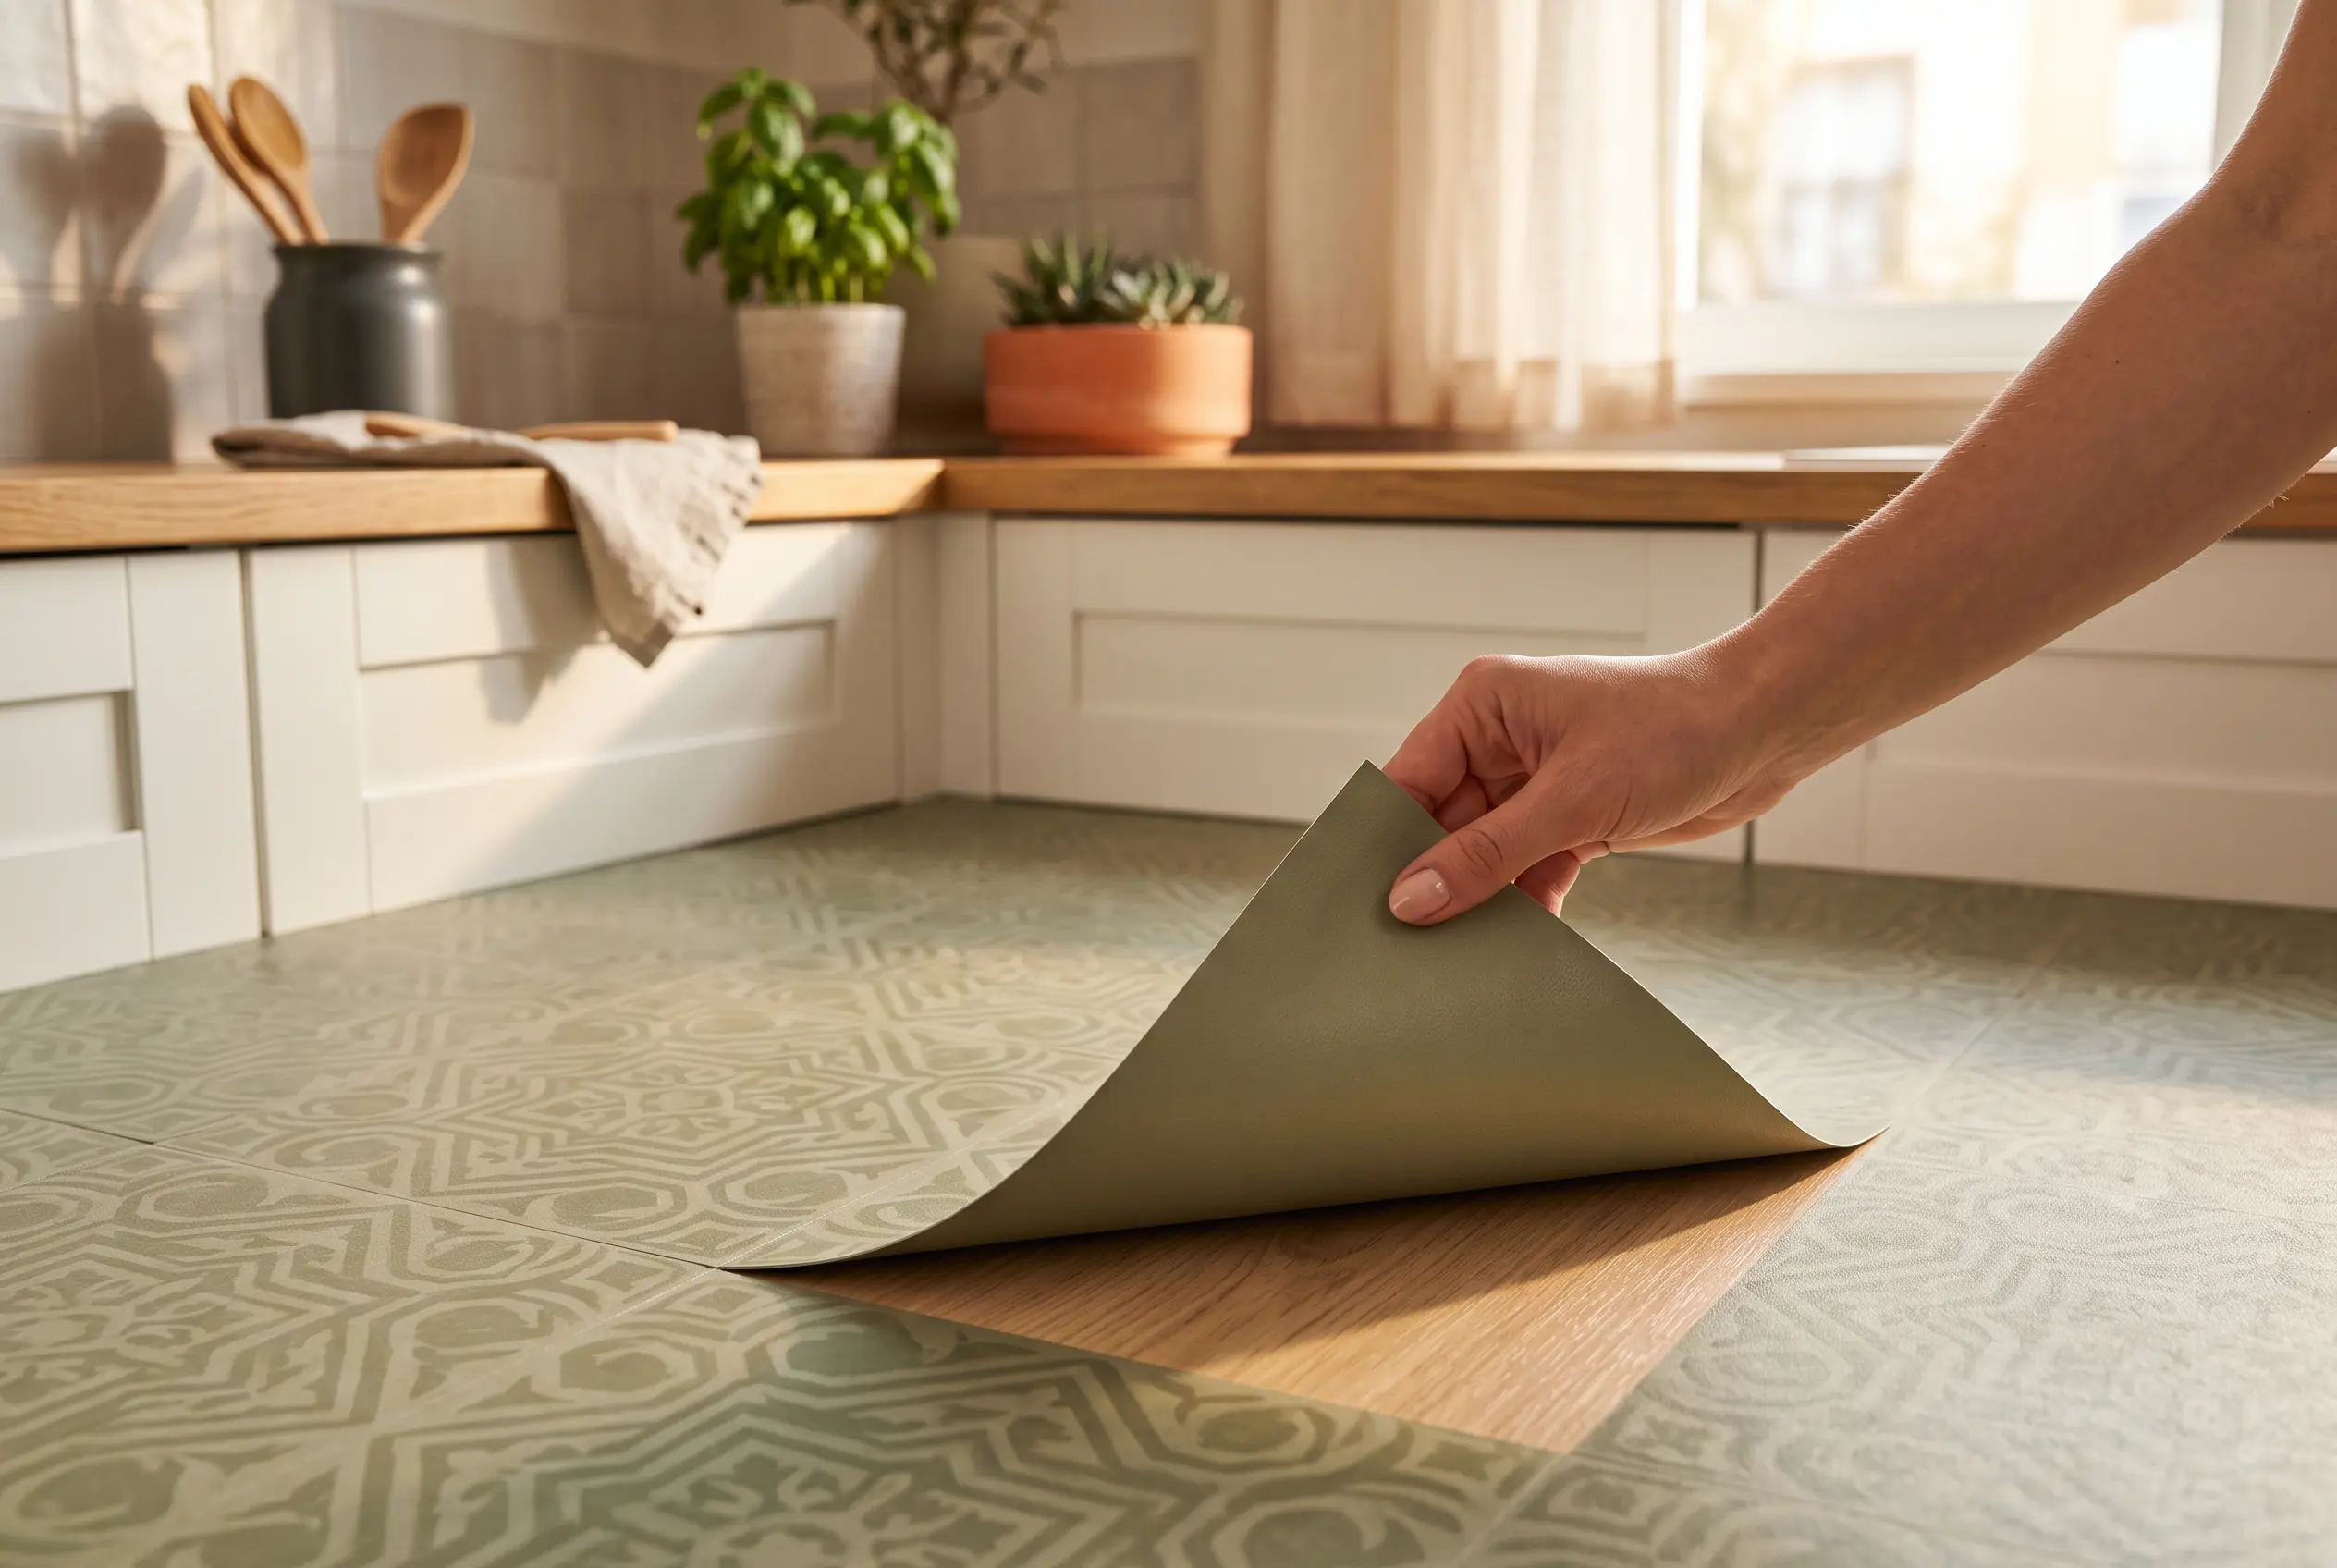
Peel-and-Stick Floor Tiles: Do They Come Up Clean?
Yes, in most cases — but “clean” depends almost entirely on how long the tiles have been down and what’s underneath them. Peel-and-stick tiles removed within a reasonable window, from a stable subfloor, at room temperature, tend to lift in full sheets with minimal residue. Wait too long, or apply them over the wrong surface, and the adhesive can bond harder than it was ever meant to, leaving behind a gummy film or, worse, pulling up finish along with it.
If you’re a renter weighing this project against your deposit, the short version is: peel-and-stick tile is reversible, but “reversible” is a spectrum, not a guarantee.
The Short Answer: It Depends on Timing
Every peel-and-stick tile is designed around a removal window — a period during which the adhesive stays flexible enough to release cleanly. Inside that window, tiles typically peel up in one motion. Past it, the adhesive continues curing against the subfloor, and what was meant to be temporary starts behaving more like permanent flooring adhesive.
This is the single biggest variable in whether a project like this protects your deposit or threatens it.
How Peel-and-Stick Tile Adhesive Actually Works
The backing on these tiles uses a pressure-sensitive adhesive — it bonds on contact and doesn’t require heat, water, or a separate glue layer. That’s what makes installation so fast. But pressure-sensitive adhesives aren’t static once applied. They continue to “wet out,” meaning the adhesive gradually flows into the microscopic texture of whatever it’s stuck to, increasing bond strength over time.
Early on, that bond is mostly mechanical and easy to break. Later, it becomes closer to a true chemical bond, which is why the same tile can feel completely different to remove after a year versus after a month.
What Affects Whether Tiles Come Up Clean
A few conditions matter more than the tile brand itself:
- Subfloor material — porous surfaces grip harder than sealed ones.
- Ambient temperature — adhesive gets brittle when cold and pulls up in shards instead of sheets; it gets too soft when hot and can leave more residue behind.
- Direct sun exposure — south-facing rooms that run warm for months can accelerate curing well beyond the typical removal window.
- Foot traffic and weight — more pressure over time pushes adhesive deeper into the surface texture.
None of these are things you can eyeball from the box. They’re why two people using the same tile in two different rooms can have completely different removal experiences.
Removing Tiles From Vinyl or Laminate Flooring
This is the best-case scenario. Sealed vinyl and laminate don’t have much texture for adhesive to grab onto, so tiles removed at a reasonable point tend to lift whole. Start at a corner or seam, pull at a low, steady angle — closer to parallel with the floor than straight up — and let the tile do the work rather than yanking.
If a tile resists, warming it slightly softens the adhesive and usually solves the problem without extra tools.
Removing Tiles From Tile or Stone Flooring
Grout lines are the wildcard here. Adhesive that settles into grout can be genuinely stubborn to remove without a plastic scraper, and stone with any texture or micro-pitting holds adhesive more aggressively than smooth ceramic. Go slow along grout lines specifically — this is where most residue problems concentrate.
Removing Tiles From Wood Flooring (Proceed Carefully)
This is the surface where “reversible” is least guaranteed. Hardwood finish is a thin protective layer, and pressure-sensitive adhesive can bond to that finish rather than sitting on top of it. If tiles have been down for an extended period, pulling too fast risks lifting finish along with the tile.
On wood, patience matters more than technique. Warm the tile gently, lift slowly, and stop the moment you feel resistance that suggests finish is coming with it rather than just adhesive.
Tools You’ll Actually Need
- A plastic putty knife or scraper (metal risks scratching finished surfaces)
- A hair dryer or heat gun on a low setting, for stubborn spots
- Isopropyl alcohol or a citrus-based adhesive remover for residue
- Microfiber cloths
- Patience — rushing is what turns a clean removal into a residue problem
Step-by-Step Removal Process
- Warm the room slightly if it’s cold — cold adhesive is brittle and prone to cracking.
- Start at a corner, working a plastic scraper gently underneath.
- Pull at a low angle, close to parallel with the floor, rather than straight up.
- Apply gentle heat to any section that resists rather than forcing it.
- Work in one direction across the tile instead of tugging from multiple points.
- Stop and reassess if you feel finish lifting rather than just tile.
Getting Rid of Leftover Adhesive Residue
Even a clean removal usually leaves a faint tacky film. Isopropyl alcohol on a cloth handles most of it. For stickier residue, a citrus-based adhesive remover breaks down the bond without the harsh fumes of stronger solvents — test it in an inconspicuous spot first, since finishes react differently.
Avoid anything abrasive on wood or on tile with a matte or honed finish, since scrubbing can dull the surface faster than the residue itself would.
Signs You Waited Too Long
- Tiles tear rather than lift in one piece
- Adhesive stays on the floor rather than the tile backing
- The tile edge feels “welded” rather than peelable
- Heat softens the tile but not the bond underneath
Any of these means you’re past the ideal window and should slow down, use more heat, and expect a longer residue cleanup rather than a quick pull.
How to Protect Your Deposit Going Forward
If you’re installing peel-and-stick tile in a rental, treat the removal window as a planning constraint, not an afterthought. Mark a reminder for a reasonable point after installation, avoid installing directly in high-sun rooms if you can help it, and do a test-pull on one tile in a low-visibility spot periodically so you’re not guessing on move-out day.
FAQ
Generally not recommended. Stacking one adhesive layer over another compounds the removal problem at move-out — you’re now dealing with two bonds instead of one, and the original layer is more likely to have cured into a harder bond by the time you’d need to remove both.
They can, mainly if left down past the intended removal window or installed in a sun-heavy room. The finish layer on hardwood is thin, and adhesive that bonds to it rather than sitting on top of it can lift along with the tile. Testing a small, hidden section before committing to a full floor is the safer approach.
This varies by product, which is why checking the specific manufacturer guidance before installing matters more than following a general rule. As a category, though, removal difficulty increases the longer tiles stay down, especially with sun or heat exposure.
No. Adhesive formulations differ enough between brands that removal behavior — how much residue is left, how easily tiles lift in one piece — can vary noticeably even under identical conditions. If you’re choosing a product specifically because you’ll need to remove it later, this is worth checking before you buy, not after.
In most cases, yes, as long as the floor underneath is intact once the tiles and residue are removed. The risk isn’t the tile itself — it’s leftover adhesive film or finish damage from waiting too long or removing tiles too aggressively. A careful, well-timed removal is the difference between a non-issue and a deduction.
